Introduction
After exploring various cold exposure methods—from glacier dips to commercial plunges—I decided to build my own system. This post outlines the full build process, costs, materials, and insights from a project rooted in performance, recovery, and aesthetics.
Why Build a Cold Plunge?
My decision was guided by the growing body of research and expert insights, particularly from Dr. Rhonda Patrick, on the benefits of cold immersion:
- Enhanced mitochondrial function
- Reduced systemic inflammation
- Activation of brown fat
- Elevated dopamine
- Improved metabolic resilience
Commercial systems were either overpriced or inflexible. I needed something robust, customizable, and beautiful—something I could trust in both form and function.
Getting Started: Sourcing the Totes
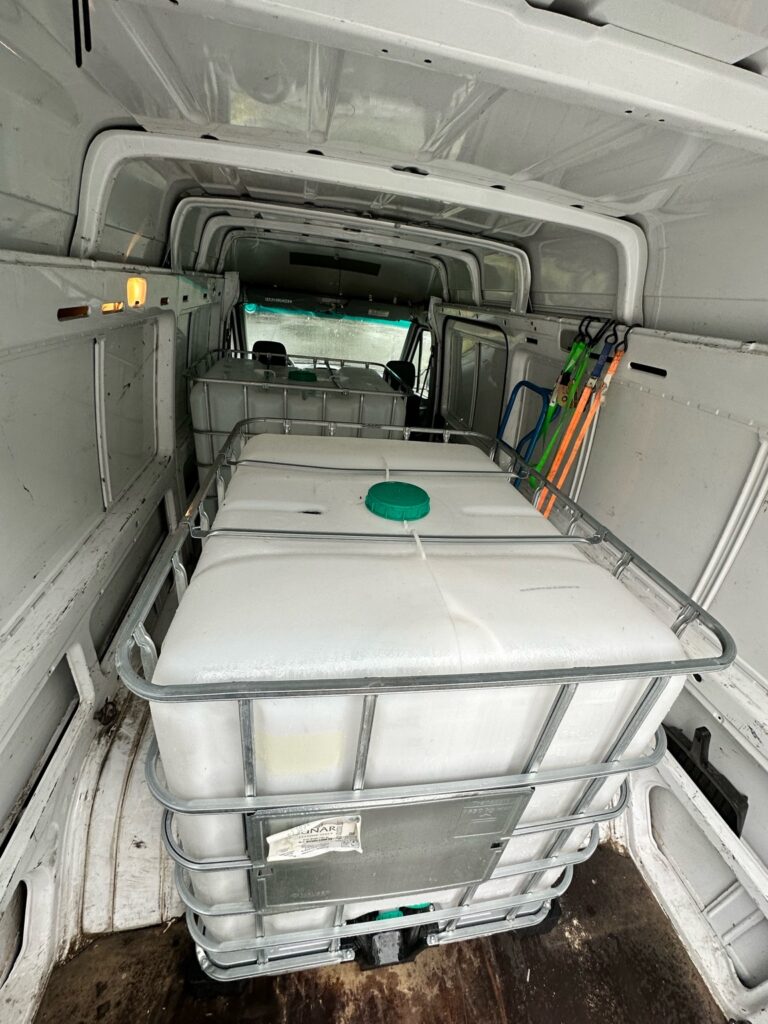
I picked up two IBC totes—one for rainwater collection and one for the plunge. Their size and frame made them ideal for retrofitting and integrating insulation and finishing materials.
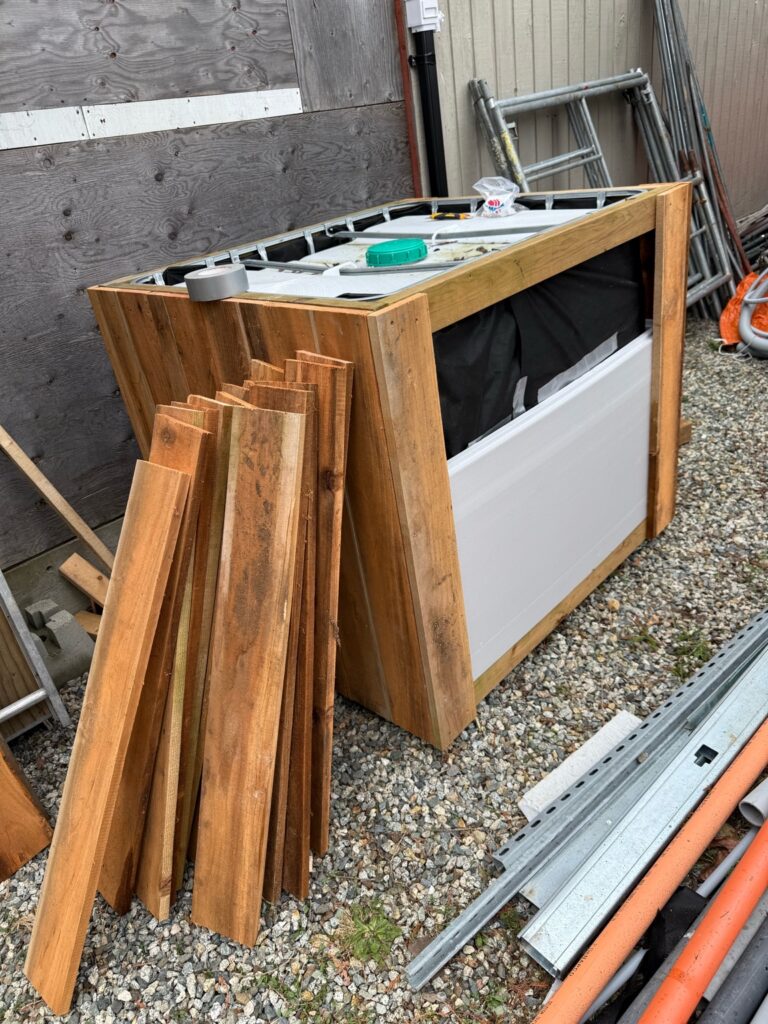
Modifying the Tote
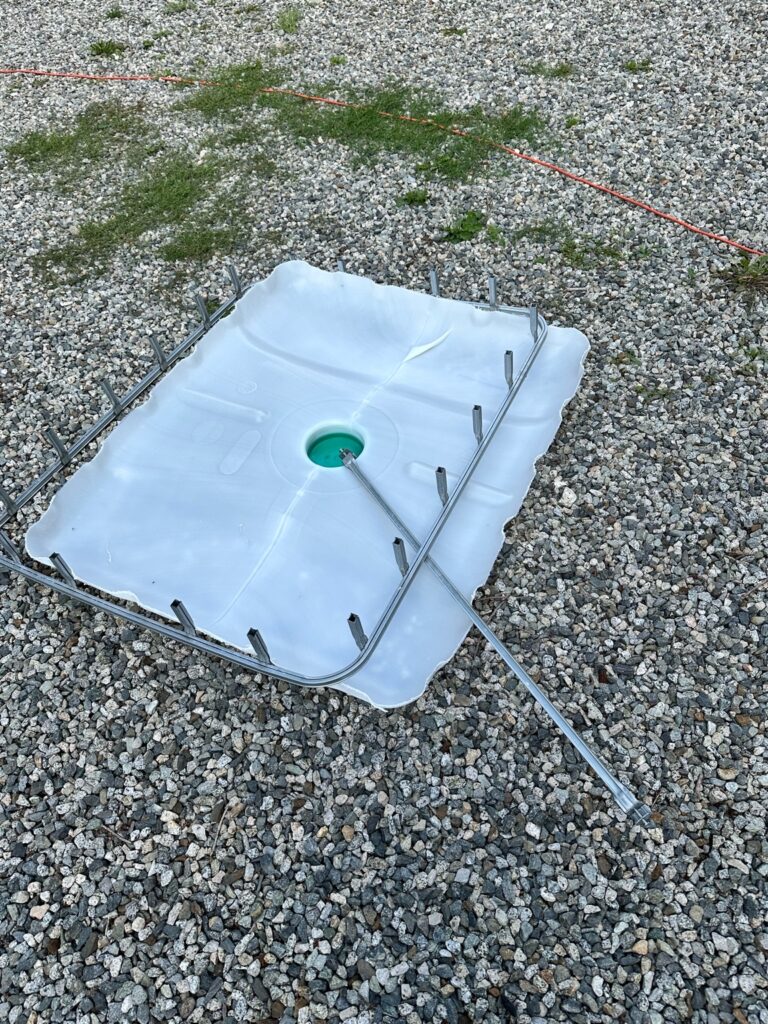
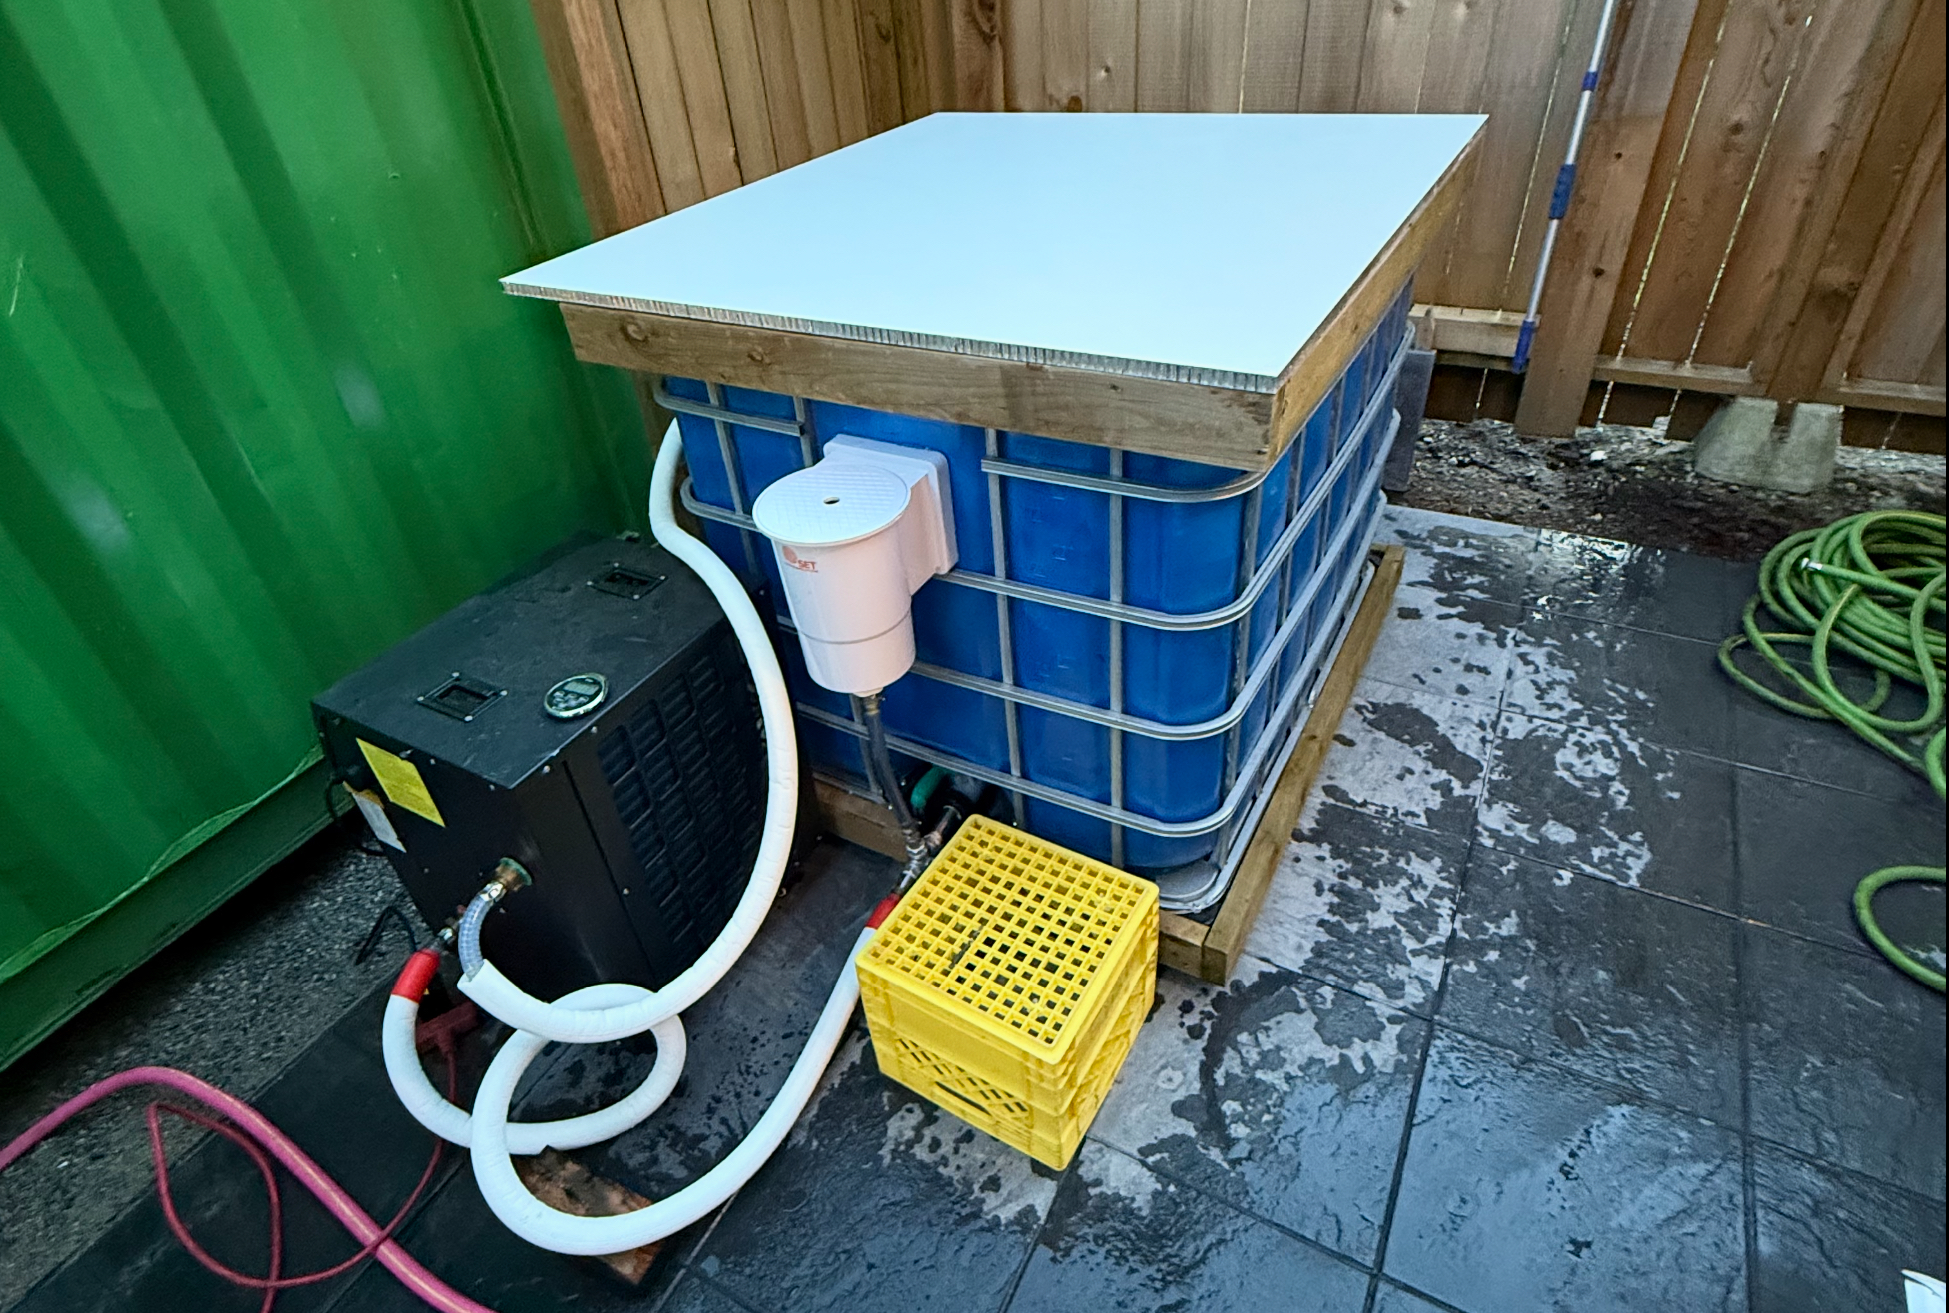
The plunge began by cutting off the top of the IBC tote. This turned it into a fully open bath and made it easier to build framing around it.
Framing for Insulation & Cladding
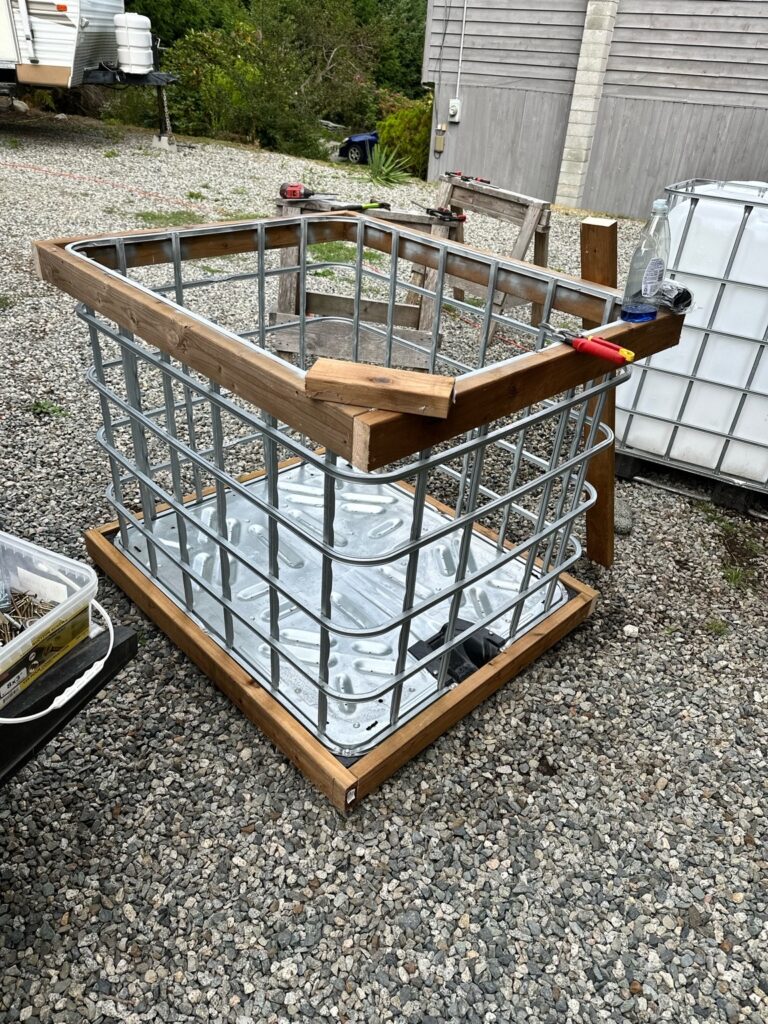
Using pressure-treated 2x4s, I framed the outside of the tote to allow room for spray foam insulation and cedar siding.
Painting the Tote Blue
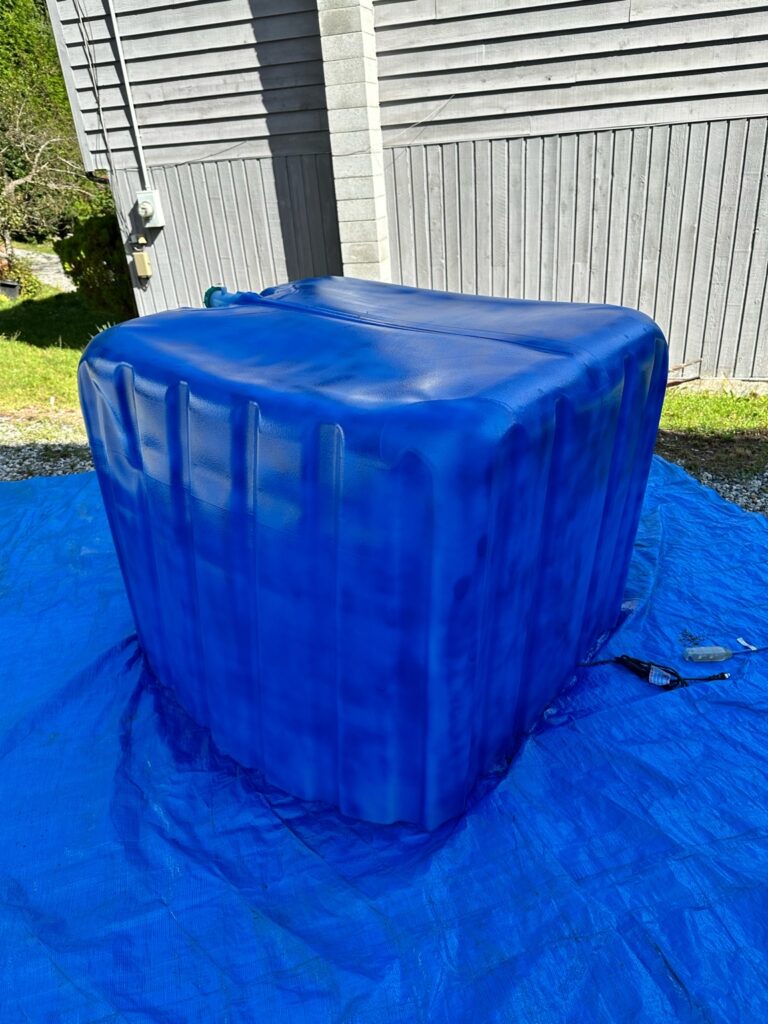
The inside had a yellow tinge that made the water look unappealing. I used 4 cans of Krylon ColorMaxx True Blue spray paint to enhance visual clarity and give it a cleaner, more spa-like feel.
Chiller Integration: Custom-Built for Extreme Conditions
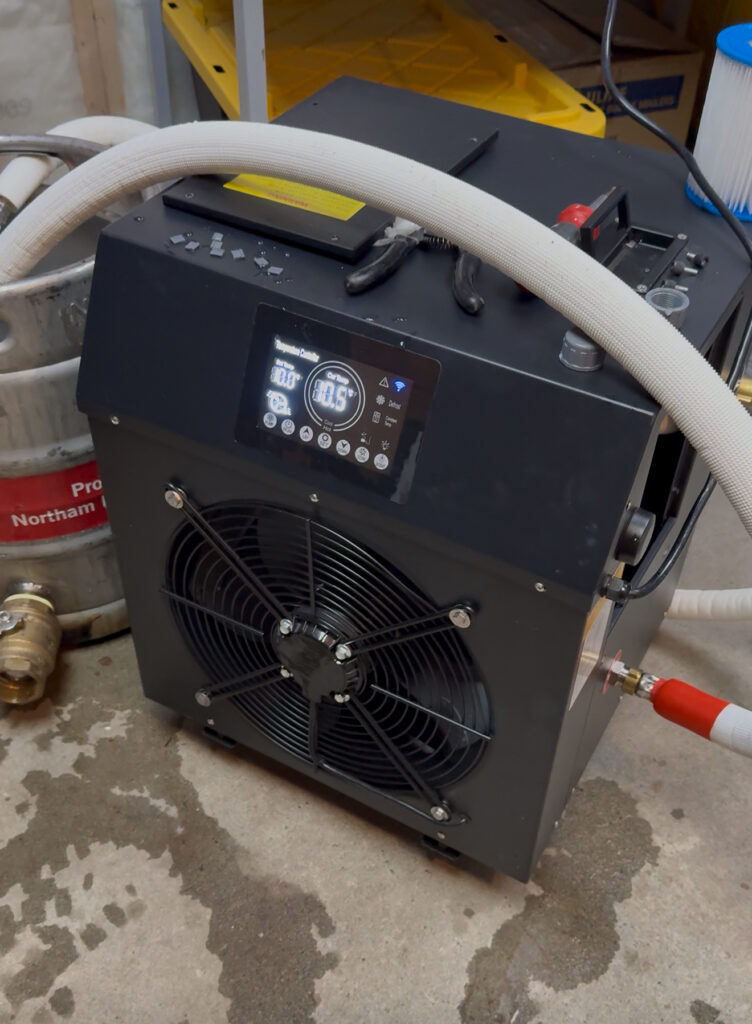
The chiller wasn’t off-the-shelf—I had it custom built on Alibaba to meet my exact specs:
- Cooling capacity down to 1°C
- WiFi remote control
- Integrated UV filtration
- Built-in ozone generator
- Sediment/particle filter
- Internal heater to prevent freezing during Canadian winters
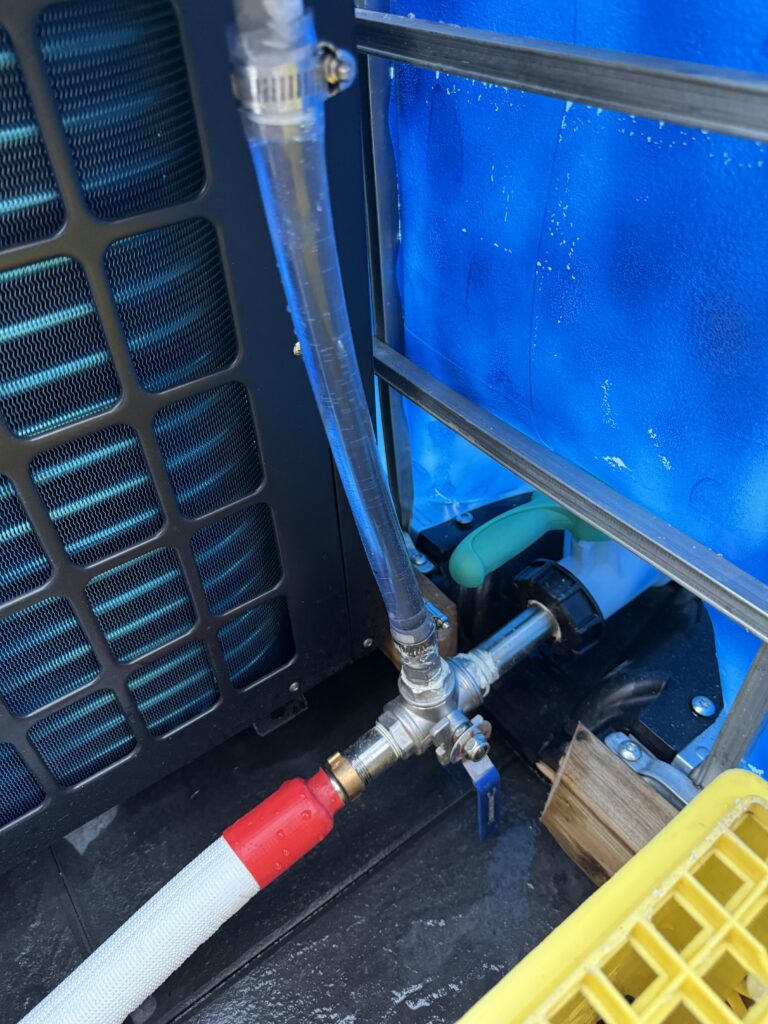
A 3-way stainless steel valve controls suction between the bottom drain (for debris) and the floating skimmer (for surface particles).
Inside the Plunge
The chiller sits adjacent to the tote, with insulated return lines running a closed loop. A magnetic Dretec timer is mounted nearby for session timing, and the INKBIRD wireless thermometer lets me track temps via WiFi.
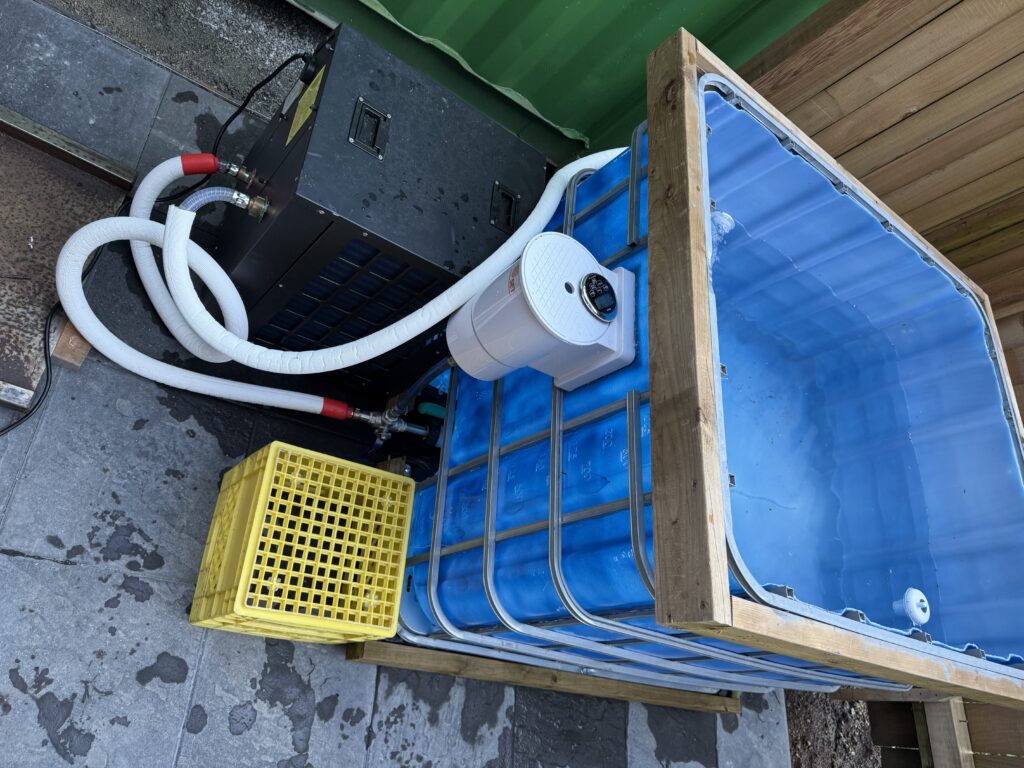
The blue finish makes the water pop. The surface skimmer, floating thermometer, and bottom suction port work together to keep the plunge crystal clear.
Matching Rain Barrel Concept
The cedar cladding from the rain barrel will be applied to the plunge for a cohesive spa-like aesthetic.
Cost Summary (CAD)

Performance & Notes
Setpoint: 1.2°C
Cycle Time: ~20 minutes/hour
Future additions: spray foam, cedar wrap, insulated lid